

Enhance Your Senses with Sweet Indulgences.
"Indulge in Sweet Moments, Illuminate Your Senses:
A Bakery Haven Where Every Crumb Tells a Story. Treat Yourself to More Than Just Pastries – Experience the Warmth of Community, the Glow of Bakery-Inspired Candles, and the Joy of Events.
Welcome to Sweet Intuition – Where Every Visit is a Celebration!"
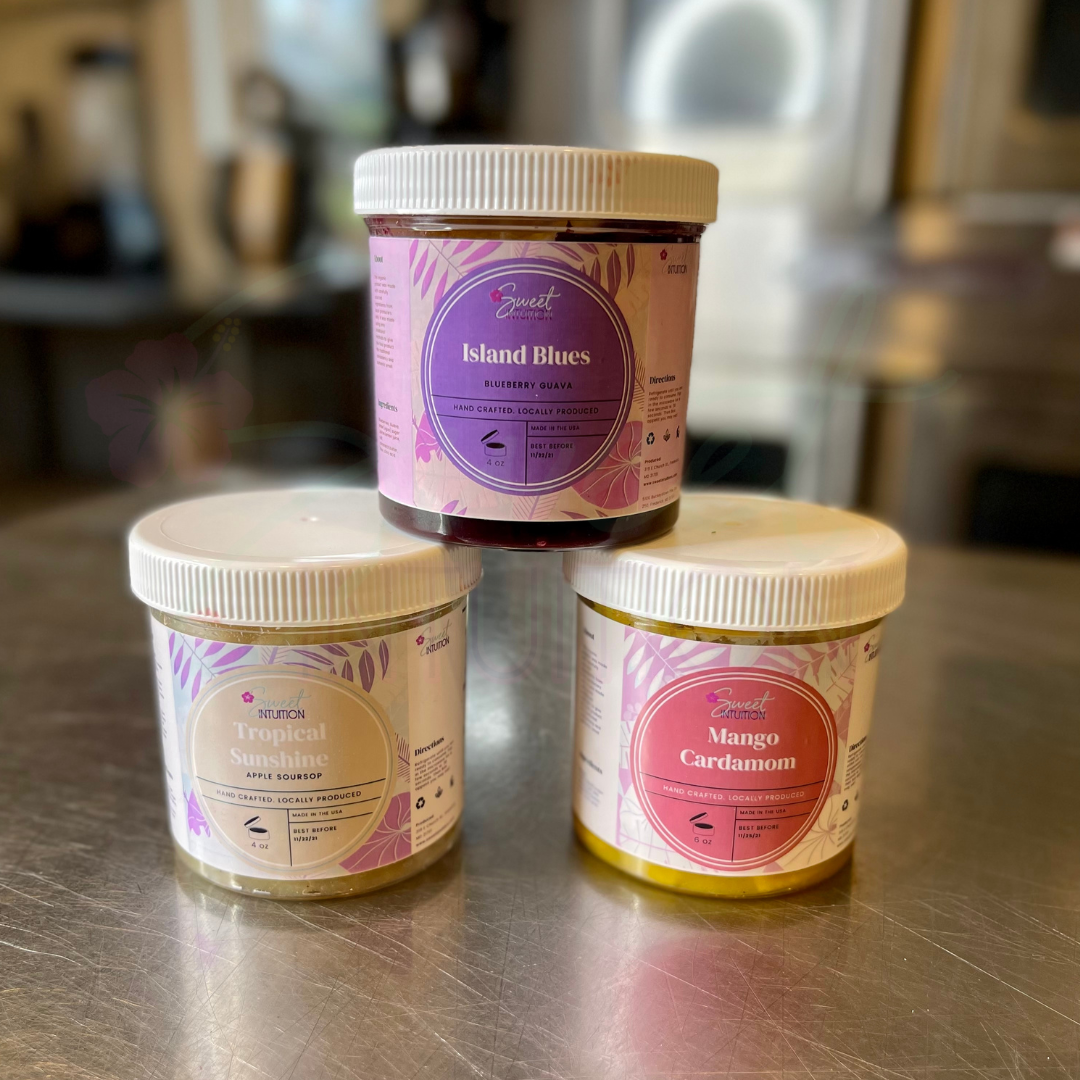
Check out some of our best-selling creations
-
4 the Love of Chocolate
Regular price From $0.00Regular priceUnit price per -
Sold out
-
 Sold out
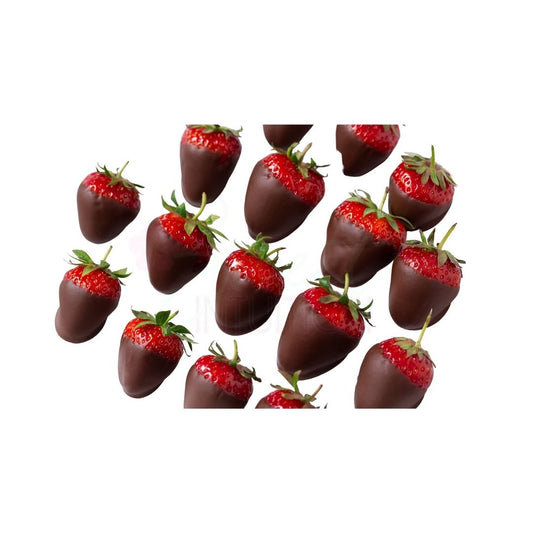
Chocolate covered strawberries
Regular price $0.00Regular priceUnit price per -
Sold out


S.I.A Wear
Introducing apparel for pastry chefs, bakers & cake creators, foodies, pastry appreciators, underdogs and admirers of our brand.
Why Sweet Intuition?
We seek to bring food diversity in dessert form to the DMV & abroad. On top of our commitment to providing top-quality products and services. We wholeheartedly believe that our customers are a major key to our success, which is why we strive to create innovative products that meet their needs but open their palettes to other flavor profiles. While also providing excellent customer service with every interaction. We believe that our attention to detail and focus on customer satisfaction is what sets us apart from the competition as we set out to be one of the best in our industry.
-

Impact is everything!
Do not neglect to do what is good! We strive to use our impact and platform to contribute to causes we are passionate about. As our business continues to grow so will our efforts to give back & contribute to those causes. You have to be the change you wish to see in the world.
-

Our Values
We are committed to fostering creativity, diversity, accountability, honesty, integrity, reliability, empowerment, innovation, love, transparency, & community.
-

Our clients love us!
We are highly rated by our new and repeat clients. Their strong ratings have helped us earn a very good reputation in our field. We believe in transparency and quality. Try our products and see why!
-

Farm-to-table
We use local agriculture when it's available to us. Our #1 priority is building relationships with farms that utilize sustainable farming practices & honest and transparent pricing for some of our creations.


Blog posts
-
Why do my jalapeños have mango in them?
My jalapeños have what in them!?!? It got your attention right?!? While mangoes fused with jalapenos would be an interesting combination. Fun Fact moment: We carry that flavor...
Why do my jalapeños have mango in them?
My jalapeños have what in them!?!? It got your attention right?!? While mangoes fused with jalapenos would be an interesting combination. Fun Fact moment: We carry that flavor...
